Here we are showing you a list of useful steps required to repair a pond.
Step 1: Drain and Wash
Drain the remaining water from the pond. Pressure wash the concrete surface of pond’s interior, then apply a pond caulk to all major cracks. Because caulk is flexible and will shift with the crack, smooth caulk with a trowel for better and wider coverage.
Step 2: Repair Holes
If there are large holes in the concrete, you may have to mix a “quick drying concrete” to mend these areas. The new concrete should be spread evenly with the existing surface.
Step 3: Apply Primer and Sealant
Apply the alcohol-base primer to the dry surface. This creates a bond between the surface and new sealant. After 45 minutes the primer should be dry. Next, apply two coats of neoprene sealant.
Step 4: Create a Trench
Dig a trench from lowest portion of the pond to the highest (where filter system will be installed). Run the hose from the bottom portion of the pond (where the pump will sit) to the top (where the filter will sit).
Step 5: Place the Filter System
Position the filter system on a level surface of dirt. Use a level for precise placement. Fill in dirt around the filter, taking care not to cover the connections.
Step 6: Attach Hoses
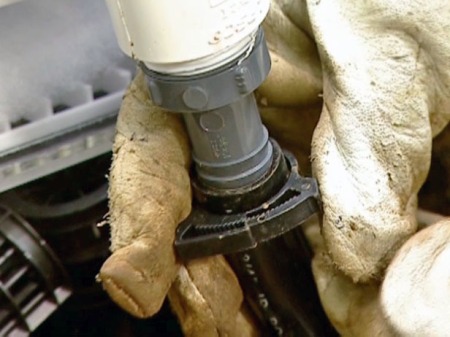
A vinyl hose transitions to the spa hose and the vinyl hose attaches to the trickle filter at the inlet. Use the black UV staple hose and attach it with plastic clamps.
Step 7: Attach Filters
Once you’ve determined the proper length of vinyl hose from the trickle filter to the UV filter, cut the vinyl hose with a knife. Attach the two filters by joining them together with plastic clamps at the back of the trickle filter.
Step 8: Create a Waterfall
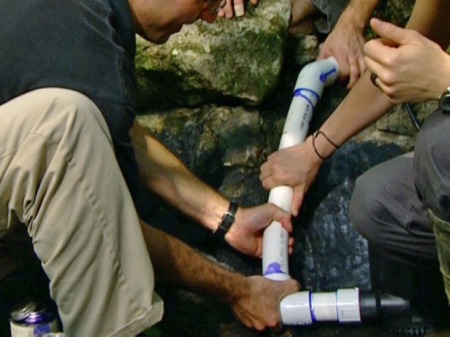
Another vinyl hose is attached to the opposite side of the filter with plastic black clamps, for the clean water to be returned back into the pond. Create a waterfall-like effect by hiding the vinyl hose under a pile of rocks, but only enough to hide, as the hose can be crushed by too much weight.
Step 9: Attach the Hose and Filter
Next, attach the spa hose to the UV filter and “pond beast.” First, use PVC cutters to cut the spa hose. Then, clean hose inside and out. Apply primer and glue to “seat” area of fitting and spa hose. Push the two together.
Step 10: Attach the Ball Valve
Run 1″ spa hose under the walkway. Add primer and glue to extension, then attach ball valve to control water flow direction. Glue reducing fitting inside the ball valve, then cut flexible tubing to attach the ball valve to UV filter.
Step 11: Lubricate the Pump Connection
Next, use Teflon tape to lubricate the connection of the waterfall pump, then connect the 1″ spa hose to the pump.
Step 12: Finish the Project
Apply primer and paint to discuss the pump and hoses , then fill the pond with water.
Article from: http://www.diynetwork.com/how-to/how-to-repair-a-pond/index.html#step1


 Uncategorized | Tagged:
 Posted by Tampa Bay Ponds & Rocks